Dyson Project (Belgium carry-on project)
this project is a carry on project from the project I did in Belgium in march for Dyson.
Final design stages (CAD development of the smart screen design)
This was the first cad model i made after making some soft models. I wasn’t happy where the shape was going, I though it was far to chunky and I was aiming to get a sleek, thin design, a form that’s desired right now. So I went back to making a few more models to fully grasp the shape I wante
d.
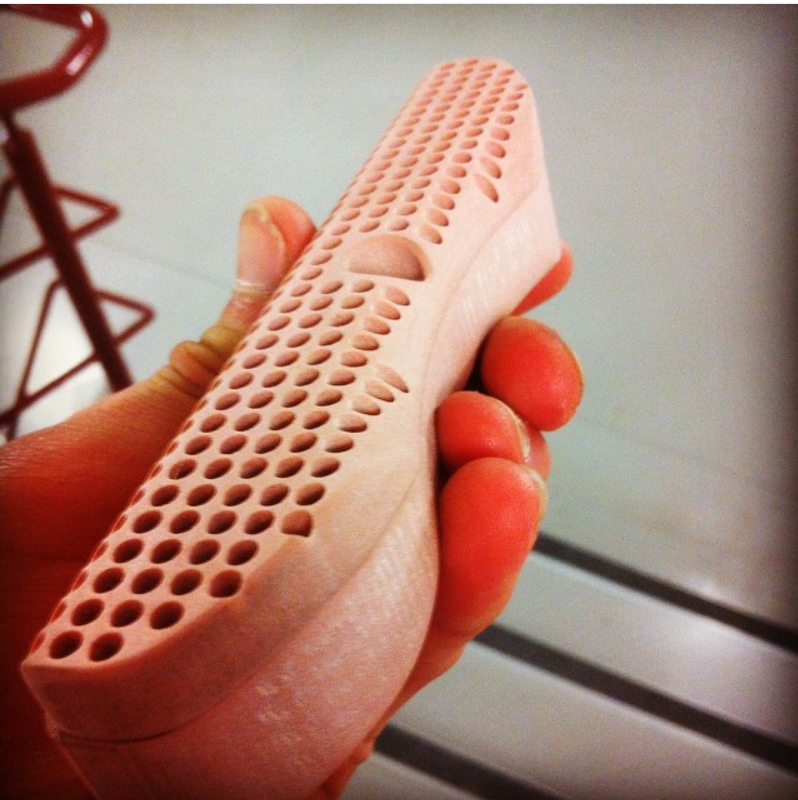
After making this model it started to take a new shape, that I liked. Although it was hard to drill multiply holes in a straight line. I felt more comfortable with the direction of the form so I went back to CAD and this is what my second CAD model looks
like.
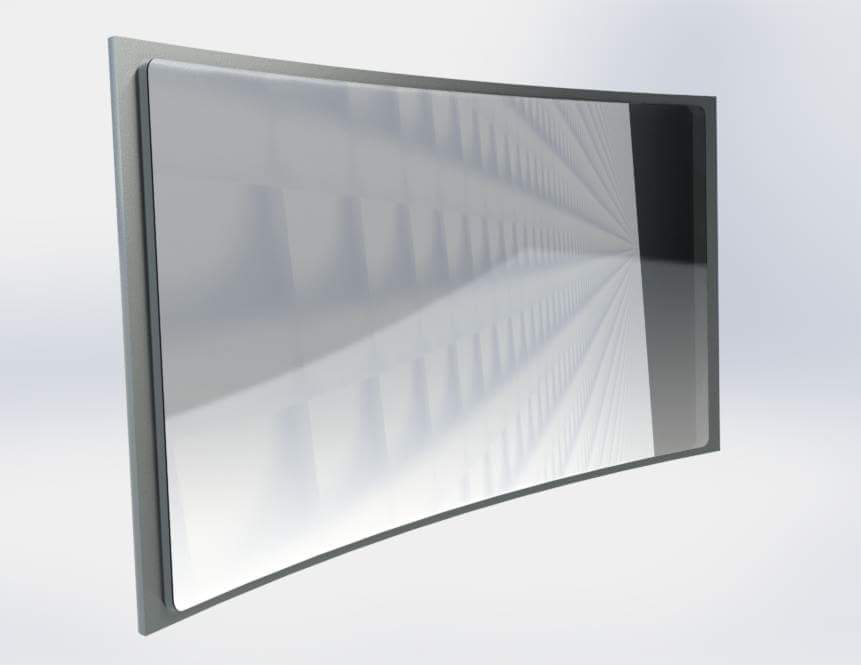
I’m happy with how the soundbar component came out but I didn’t work on the screen, I feel like its to curved and still to chunky. So I decided to do some new sketches using all the development ive done on models to influence the
outcome.
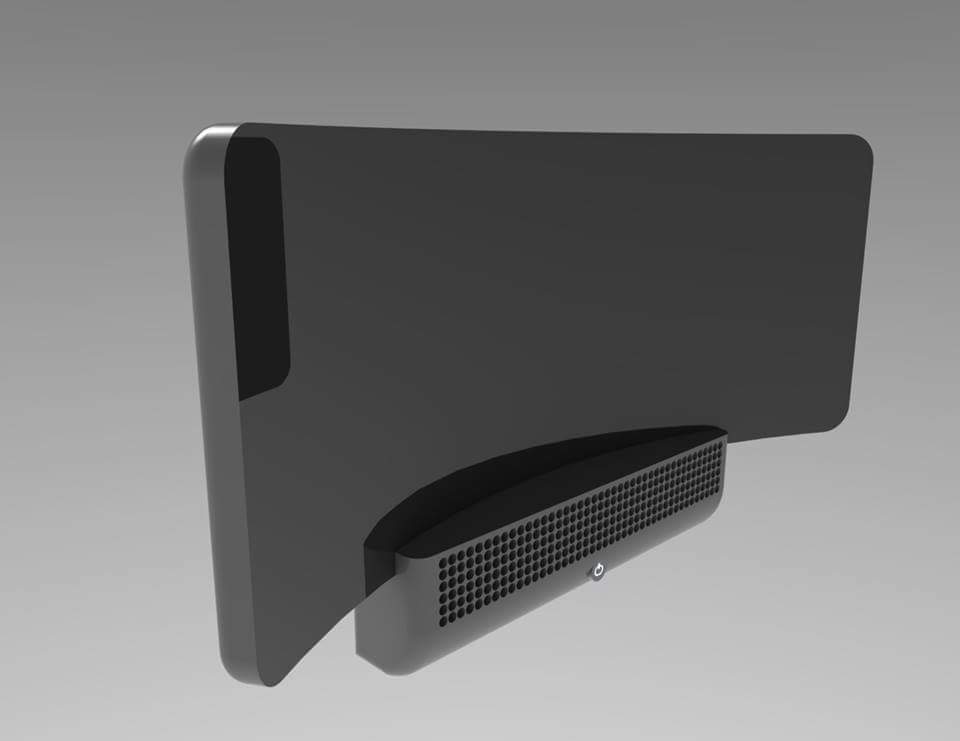
Here are two of the sketches that I thought looked the more aesthetically pleasing, using these drawings I started a new CAD model developing both the sound bar and the screen in sync. Doing this allowed me to add similar design details into both components, adding more consistency to the design. This is my third CAD development model.
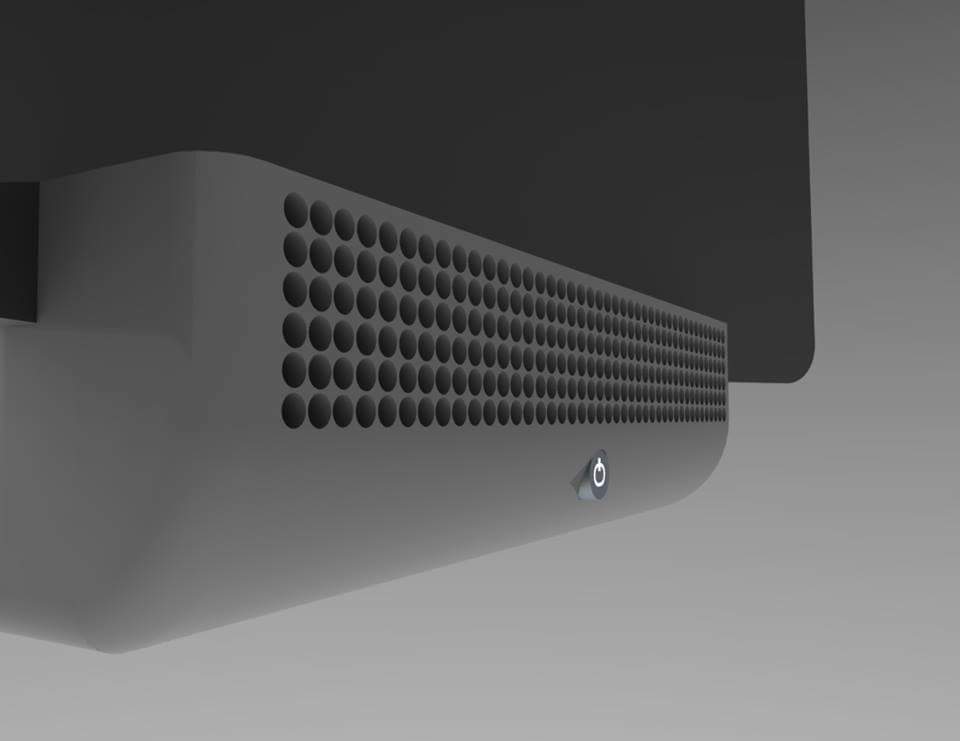
On this development I think I came up with the desired aesthetics I was looking for. The design took more to the left hand side drawing I did (above) apart from long strips I drew I didn’t think they looked right. So I decided that small 3mm holes that cover the whole front surface give the soundbar a sleeker feel.
Heres a render of the assembly and a CNC’d model from the CAD file. I really liked the outcome of the aesthetics, but I still wasn’t happy with the screen. I had a think about whether having a curved screen was beneficial to the user, i purely started designing it as a curved screen because of the project in Belgium. But thinking it over lead me to believe that it would be a pointless feature and would add lot of cost to the product. So in the next CAD model I made the screen flat and also smaller because I found that the size I was initially going to have it was far to big for its purpose. Here is my final CAD Render of my final design proposal.
Smart screen user interface. The design and the features it holds
TransportHub – this feature is one that I think is the most beneficial and useful. This feature collects information from reliable sources to ensure that you get the most accurate information. This feature is beneficial to the user by providing all the information they need before leaving home.
WeatherHub – just general updates on weather reports. Using GPS location to provide accurate information.
Emails – stream your emails to the smart screen.
Voice control – There’s also an option to have all recent updates on weather email etc read out to you, using a voice control system, so you can shower and still get your daily update whilst saving time.
News&socialHub – This feature allows the user to have a dual feed screen, where they can add, swap and experiment with all their favourite news and social media providers.
MusicHub – make playlists, discover new music, something to listen to.
Calendar – usual calendar, add special dates or work rotate, connect it with your Facebook to get all your events in one place.
Camera – I’ve added the camera to mimic a mirror, with auto w/b etc, use it as a mirror or for a quick selfie.
Settings – This is where my users can personalise their interface to their preferences.
Browser – I’ve added a browser feature, google search engine. I think the internet is so involved with our lives that it would all most be strange not to include a browser tool. This feature is for general internet uses.
Timer – this feature allows the user to set timers, we all lose track of time in the shower from time to time.
Prototype development
Here is the three major design changes for the sound bar for my smart screen project. The fist one is one of the first ‘lazy attention to form’ models I did. This was a way for myself to understand how I was going to design the sound bar. I don’t like the shape and the way it holds the screen. So I furthered the development to see what other forms I could explore, such as the second model down, this was one of the models from the middle stage of development and quite liked the form, from this model I took CAD, because I can get a better and more accurate look for my design and that’s were the third model comes in. This model was cnc’d from a CAD representation of my design. I changed a lot out the design in this model, taking inspiration from existing products to create a fresh, new design. I’m very happy with the outcome.
Food for thought
After my tutorial last week, I’ve been looking at adding a feature that allows the screen to be moved on a wall. The purpose for this is that the users of the product aren’t all the same height, so I need something at will allow the users to lower or higher the screen to their height. My first idea was to have two metal rods on the wall and the screen can use either a simple locking system such as a screw that will clamp the screen to the rods or I was thinking of having four cylinder tubes and using pressure I should be able to move freely but also say in one place too. I’m going to make a few rigs to find the best way of solving this problem.
I want my solution to show a simple clear way of solving a problem but it must be user friendly.
Heated glass system for smart screen
The manufacturing process begins with the application of a microscopic tin oxide coating to a pane of float glass. This coating is transparent and conducts electricity. Then, two bus bars are applied to opposite sides of the glass. The busbars must be perpendicular, and the surface of the glass between the busbars must be flat.
An electric current flows across the tin oxide coating from one busbar to the other. The electrical resistance of the coating produces heat energy, which radiates from the glass. The busbars are connected to a power control unit that regulates the flow of electricity and thus the temperature of the glass. In modern architectural projects the heated glass is completely translucent. This technology uses a special metallic coating on the surface of the glass invisible to the naked human eye which makes it the perfect material for screen displays. I want the screen to heated to prevent condensation collecting on the surface.
Project redirection
For my Project I was designing smart screen/mirrors for public restrooms how ever o though that the public restroom wouldn’t benefit from such a product. But if I changed the scene and designed it for use in domestic restrooms, (bathrooms in consumers homes) the users would gain more beneficial interaction with my product. The main reasons I’ve changed my products final destination is the fact that the average human will spend more time in a bathroom in their home that anywhere else. To be completely honest who actually spends more than 4 minutes in a public restroom.
Changing the products environment has now opened up a few more features that I can use on my product, such as:
* voice/face recognition
* a memory to remember the user(s)
* and a system that could be similar to Cortana or siri
* and a memory that can remember what the users personal tastes are but also remembering buses/car routes/trains/weather…that the users use frequently or an option that will allow the users to save personal preferences.

Redesign of smart screen. CAD Renders.
Over the Easter break I took the time to redesign my smart screen idea. I used a product design process called ‘Product DNA’. This process is fairly simplistic, all it involves is taking design features from an existing product (doesn’t have to be the same product as your design) and add those features too your design. Its an elegant process in which you can take key aspects that work from other products and fit them all into one design. I did some research into TV screen and PC monitors to get a grasp on what is the current style on the market one that really caught my attention was the LG curved screen TV (although I was already doing a curved screen).
I used this design to influence mine.
Smart screen CAD and Renderings
This is the first CAD model I made. But I didn’t include features that should of been there so I went back to the drawing board and remade a new one,
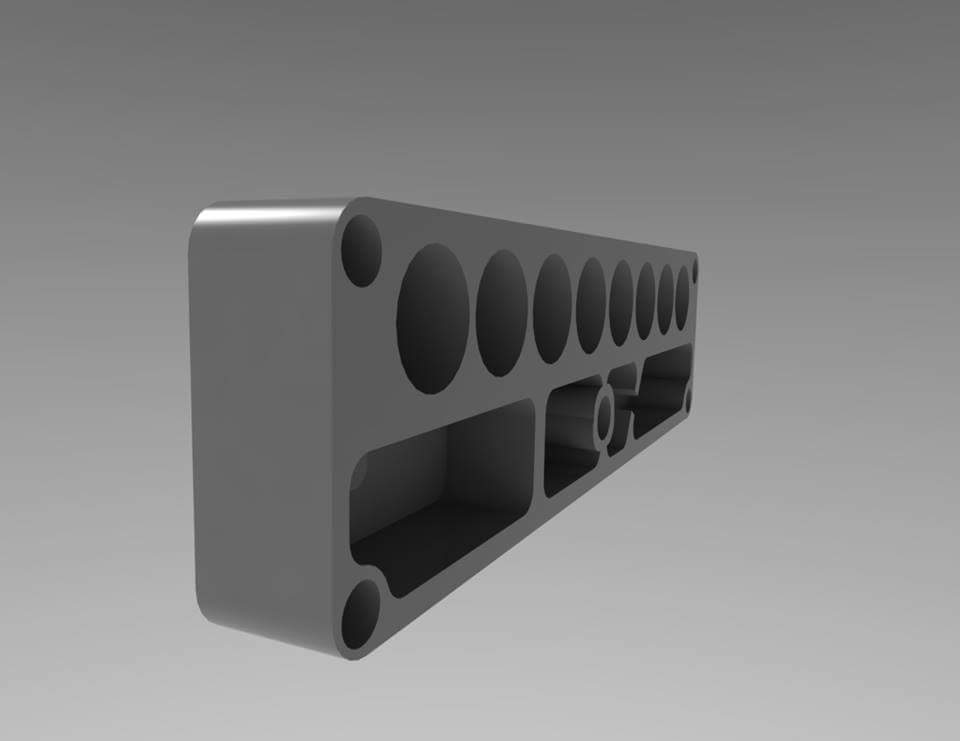
Here is my second attempt at my design. This time I properly designed the internals such as the casing for the sound. Its been designed to be injection moulded.


