summary PDP for both field projects

The two projects havent really influenced my work this year but im planning on using alot of what ive learnt next year such as, the coding i learnt from the Kinetic environments will be applied to my prototype models. I want to produce working electrical prototypes for my end of year show next year. so as a summary on kinetic environments i will say that it has helped me massively in my subject, by providing me with the skills i neede, as a BA student i dont get taught circuitry like the BSC students do.
for the second project i had already had lotof hands on experience with woodcraft and meal work, but thats not too say it wasn’t beneficial. during this project there was alot of designing which is what im heavily involved in anyway with product design but my drawing skills improved vastly. CAD was also apart of the project an i can say that my skills in that area improved greatly too. this year it didn’t fit in with any of my projects but designing and making furniture is a love of mine and i grasped the opportunity when it came. however next year i pondering on the idea of doing a artefact with my dissertation about the Memphis group. i want to design my own piece of furniture based on the design ethos of the Memphis era. i also may include some furniture into my subject next year. The
things i really enjoyed about this project was the teaching from Richard Morris he was amazing and could help in any way possible. i really enjoyed the making side of things as i mentioned its a love of mine. another enjoyable aspect was the opportunity to attend a chat from a renouned furniture designer this chat inspired me a bit and helped me with my design process.
theres only a few things that could be improved for both projects such as for the Kinetic enviroments the project needs more concentrated learning on the coding side of things only because we were briefly shown how to do it but not enough to be able to do complicated programming also they need more resources to be available because alot of the time we couldn’t make certain things because the university hasnt got any (sensors, etc…)  and for the are you sitting comfortably project, i would say that there needs to be more materials provided as we were quite limited to how much and what we wanted to use. a more in depth project brief, the brief was okay this year but i think some nicer more challenging briefs could be used.

Kinetic environments PDP

I really enjoyed this project as it was something I’ve not done before. Working with the arduino was extremely interesting. Paul, Alex and Dennis made learning the coding side and the circuitry side of things very easy to learn without any problems. However I didn’t like the idea that my group came up with I think we could of done something more exciting and more challenging.
Our idea was to make a pair of gloves that used light sensors and buzzers so you could effectively play music by tapping your fingers, however we couldn’t find the resources or knowledge to make the circuitry. so we decided to tweak the idea slightly by using lights instead of buzzers and the out come was very nice, a glove that lights up when dark, from a product design view that would be perfect for runners in winter.
During the whole project the only problems that i was faced with was that only some of the group would turn up, which made our progression very slow and in turn can ruin the project. luckily on the days they did come in they had a good work ethic, which meant we got alot done in one session.
i think the fact we got taught by both Paul and Alex was great because Alex gave us an insight into what we could accomplish musically with the ardiuno and Paul showed us that we could easily hack toys and make funny creations with the ardiuno.
I’ve learnt a lot from the project and I’ve taken a lot from it also, now that I know how to use the arduino and breadboard etc. I can now kind of make working electrical models in my subject which is always an advantage as im not a BSC student.
I’m glad I choose this project because I can apply a lot of what I learnt to my subject projects.
when it came to the end of the project it was really amazing what the other groups has created. and each idea was something very different from the next such as a drawing spider robot and little boxes with each their own personality. it just shows that really cool things can be accomplished when different subjects come together. i would love to do this again.

I also really enjoyed working with the textile students because they showed me smart fabrics which I could use in my subject also. if this project was to be done again next year then i have a few suggestions on improvement, the project needs more concentrated learning on the coding side of things only because we were briefly shown how to do it but not enough to be able to do complicated programming also they need more resources to be available because alot of the time we couldn’t make certain things because the university hasnt got any (sensors, etc…)  if those two things were done then it would make the project more fun and the outcome would be much more amazing.

chair persona

empathy map

here s a link to the empathy map I built for my user, for this I have evaluated all the questionnaire answers that I received from my consumer, I then deconstructed the answers and picked out the things that would get my inspiration going. I found out she loves interactive design and her favourite graphic designers are John Maeda, Scott Snibbe, and Paul Rand. so from these interactive designers I started to think about  making my design interactive for the user. she also loves the beach and Rhossili beach in particular. I found this to be a interesting in my finishing process for the chair because she loves the sand and the look of the beach I decided to add no varnish/wax into my design so it looks natural and weathered like a beach does.

her favourite pieces of design is her she mentioned her sleigh bed a few times in the questionnaire she answered for me. im too too sure what I think of the sleigh bed so I decided to leave this feature out of my design. Her Le Corbusier chaise. She said that she likes to sit down on her Le Corbusier Chaise longue to watch old movies. this is what made me think about having it as a lounger chair but I also wanted it to be a normal chair so that’s why I cut the deign up into three separate units.

My consumer’s best car they’ve ever owned was a VW Beetle 2.0 GTi, which I’m so glad about VW are by far my most favourite car manufactures, and I was more than happy to include features from that car into my chair design. I think this would add a certain type of uniqueness that will grasp my consumer’s attention.


Final made product/ making journal

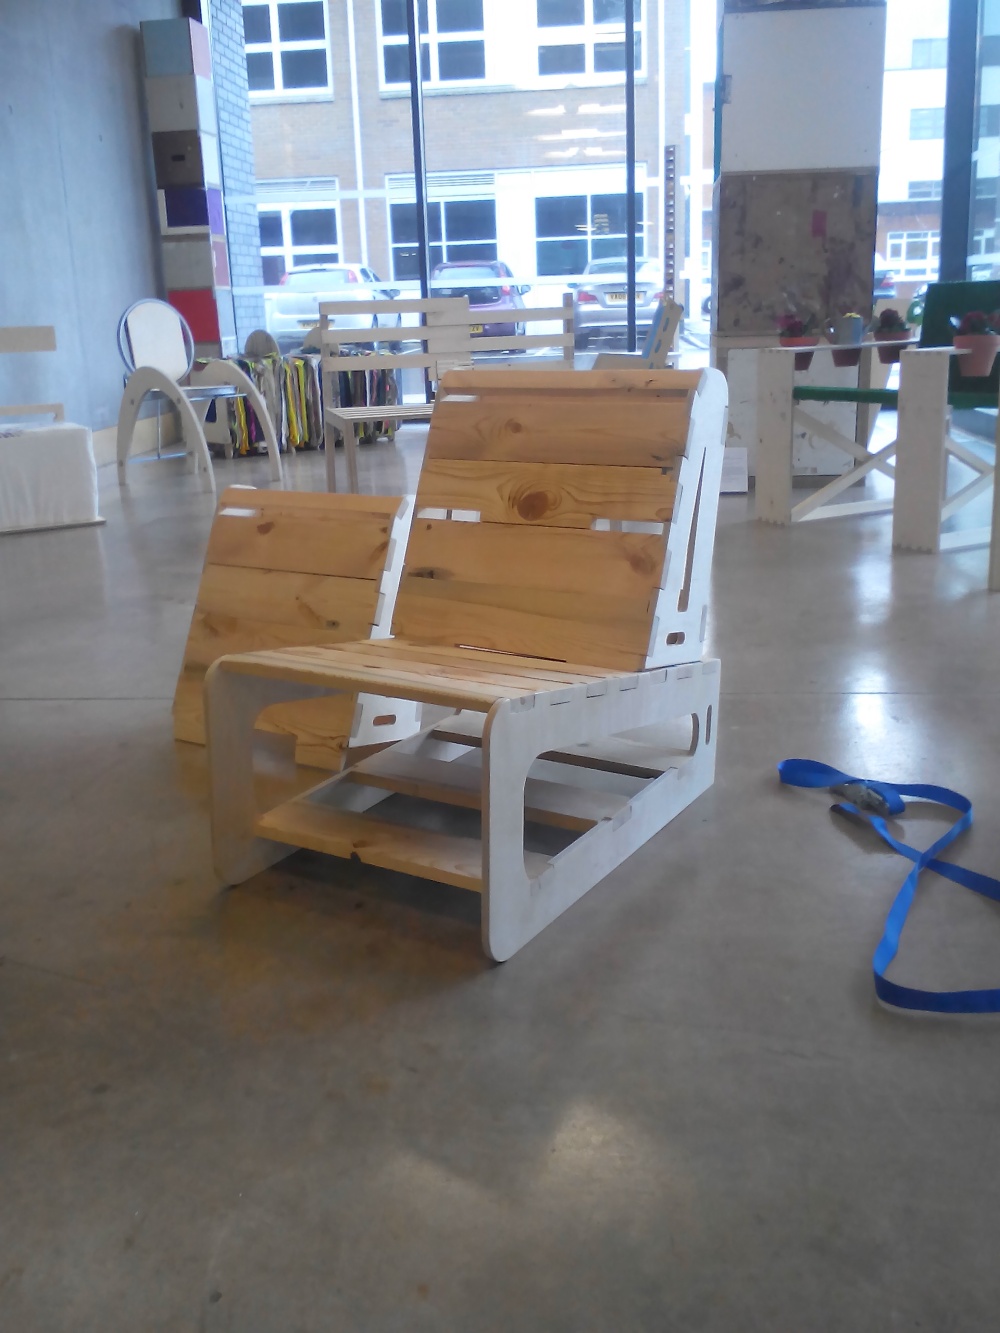
The materials I used to make my chair where birch faced plywood (furniture grade) and reclaimed ‘deal’ timber that I pulled off a skip (I think they where roof rafters). After I finished get the materials I began to make. Firstly I got my plywood cnc’d out to the shape of the side of my design.

image

When I designed the sides for the chair I made sure they had integrated finger joint slots (2cm x 6cm) and slots for the ratchet straps to thread through, the purpose for the ratchet straps is primary to hold each unit together and to provide structure it also turned out to be a nice feature. Once all six sides where cnc’d out, I just sanded them until they where perfectly smooth.

I then started to clean my reclaimed timber of nails (loads of nails) once I checked the timer to make sure no nails where still in the wood, this is important because if I shove that through the plainer with a nail still in it I will damage the machine and it will chew the timber. After I plainer the timber (which surprisingly turned out to be very nice timber!) I cut the wood to 460mm lengths then cut into 2cm thick planks/slats. On the band saw I cut fingers into the planks to match the slots on the sides.
image

image

image

I then trimmed each one so they fit together in the joints. During this process I made some mistakes including gaps in the joints where I cut away to much material. Once they all fitted perfectly I glued them into the sides and made sure it was all parallel and sash clammed it together. After the glue was set I used a buffer sander to sand all the slats down so they were all flush to one another. When it was all smooth I hand sanded the corners. I decided to leave the wood with out a finish because I preferred that natural aesthetic to the design.

image

image

This is the finished product. I have to say I’m very pleased with the outcome and I’ve had loads of positive feed back online from design threads and from people in the university.

I really wanted to capture that natural beach deck chair aesthetic but also serving two functions which allows the user to interact with the design.

Final proposed design

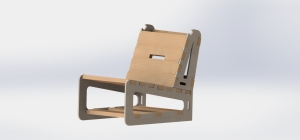
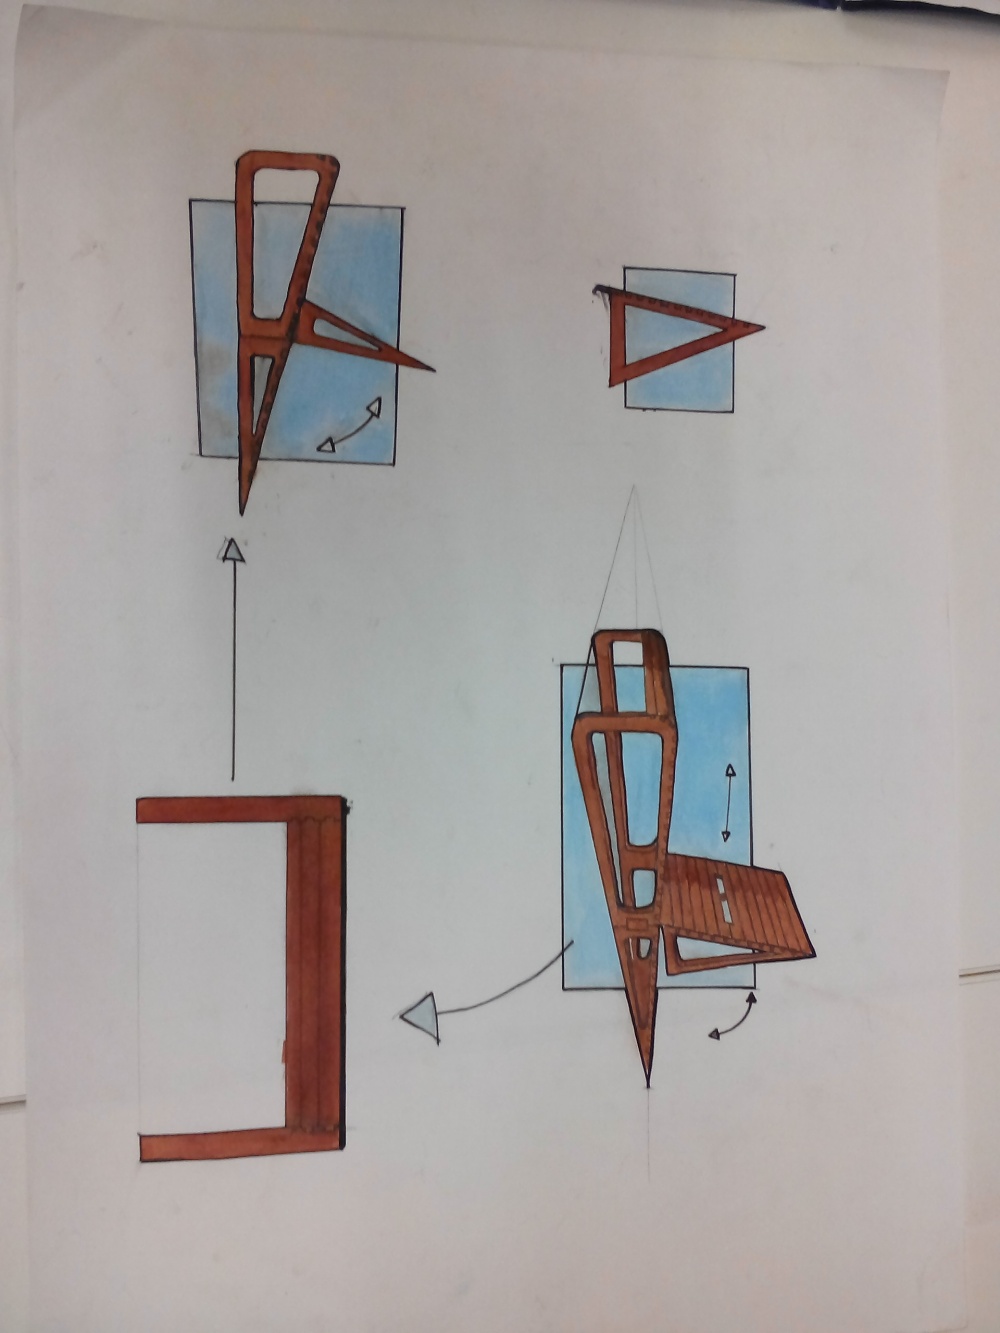
Here is my final proposed design. Developing further upon already developing my initial designs I have dome up with this. It will be built up from 3 triangular units that fit and slot together so that the user can have a lounger or a standard chair depending on their desires. Each unit will be constructed of two CNC walls either side which will have integrated finger joint slots on it, then there will be panels of reclaimed timber that will be finger jointed between the two walls. I’m really happy with the final design and I hope my consumer is too.
image

Design development

image

image

So heres the development stages of my design. I really like where its going at the moment. The Idea of detachable components makes it more unique and using features such as that allow me to design something that can be a chair or a lounger which is perfect because my consumer has a lounger so if I can improve upon her existing chair then I think she will like it a lot.

Designing my chair

These are the designs that I’ve come up with as initial ideas,

image

image

image

My favourite design is in the bottom right of the last image. In a lot of the designs I’ve used either large sweeping curves or tighter curves to imitate the wheel arches on a vw beetle (old type) I’ve added features such as removable components so that you had a chain that is completely up to you on what shape you want it in.

Modeling

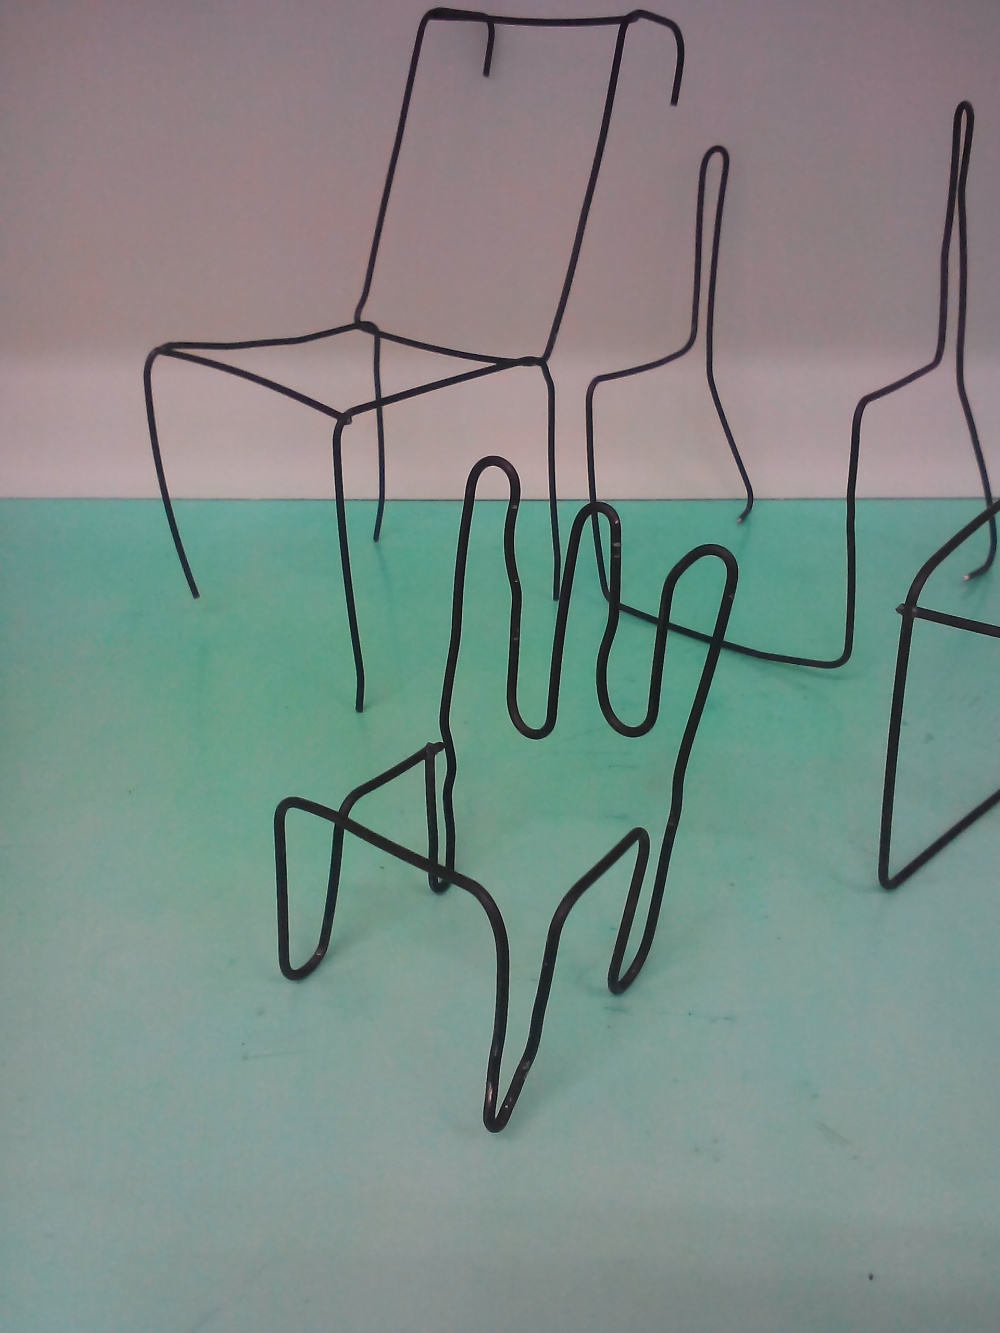
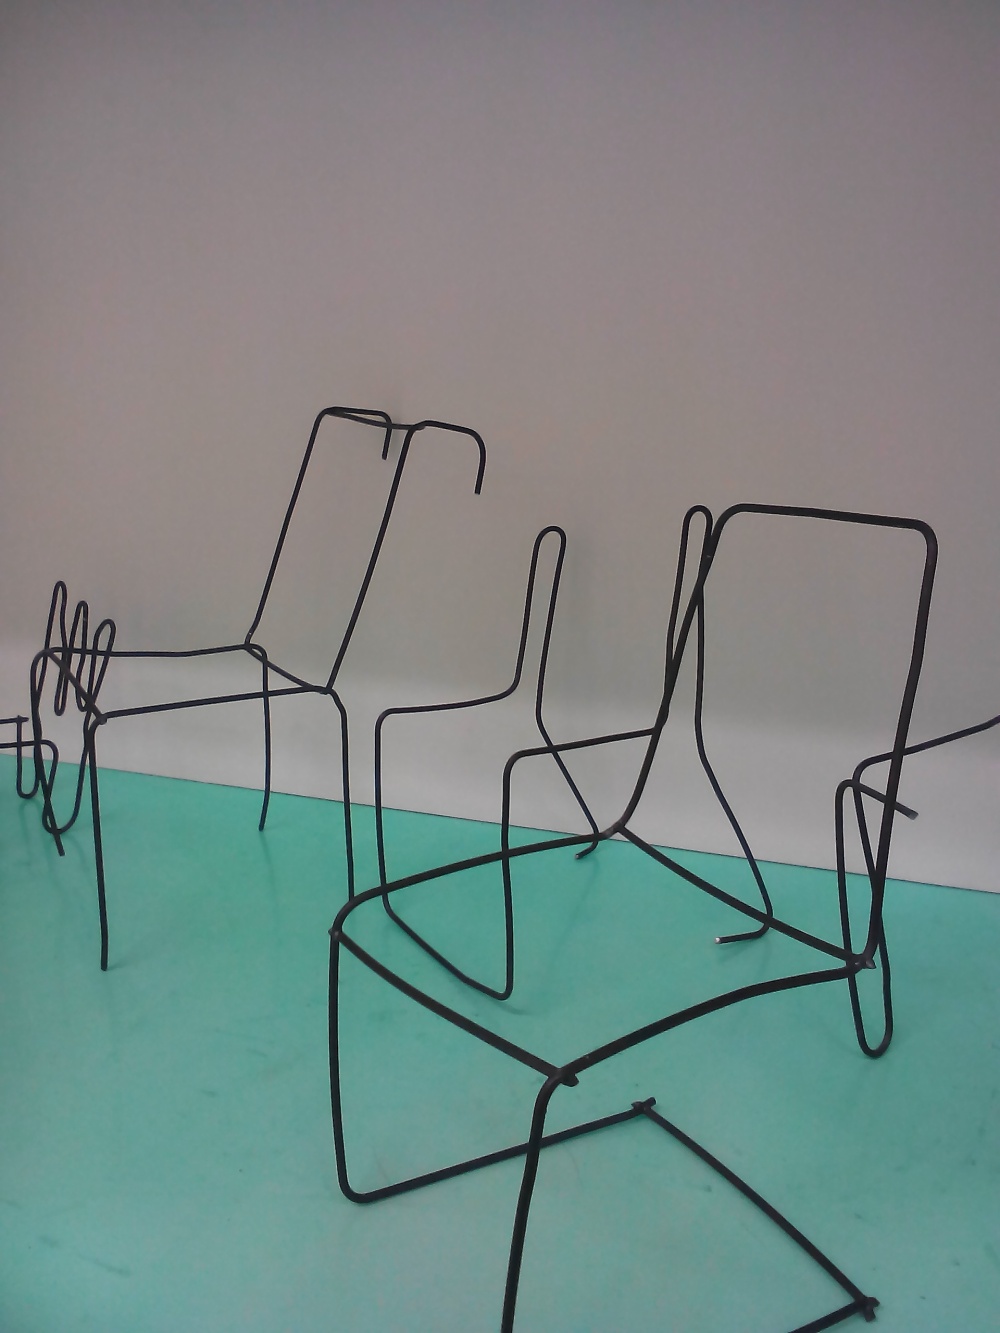
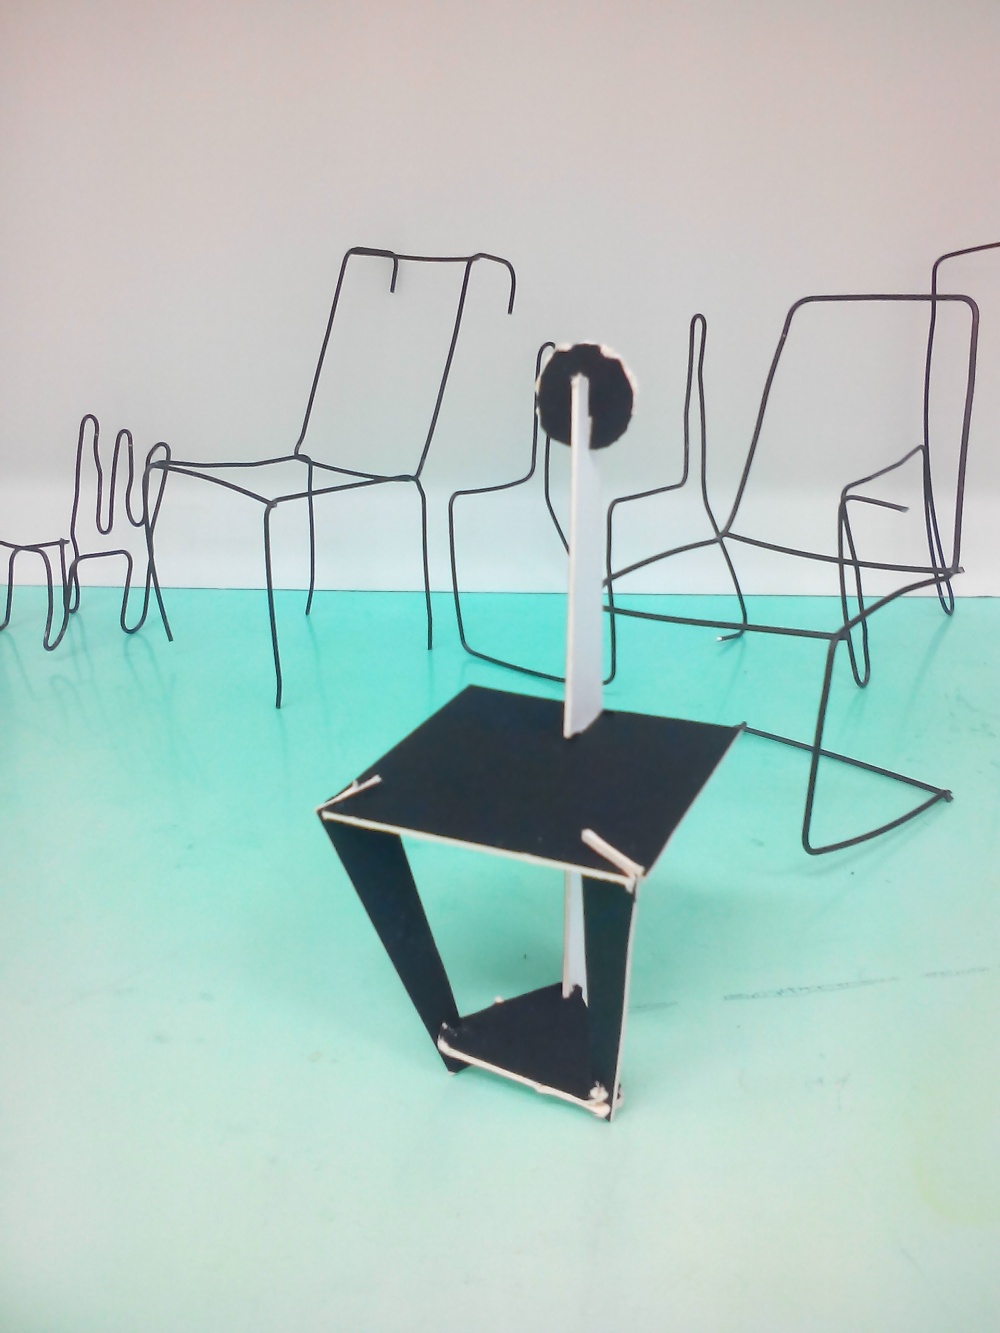
Today i began to draw easy simple designs by just using one line, from these line drawings I began to transform them from single line drawings to plane drawings. From these drawings/ideas I began to make numerous models using a single length of iron rod, and using a spot welder to connect to ends of the wires together.

image

image

image

These wire models were quite difficult to make straight and neat so it was quite challenging, but interesting for me because I usually use model board and blue foam to make my models. After I made a few wire models I then started to make models out of thick card, I like using thick card to make models because you have to work out how to fit components together. So this is like turning almost naked designs, into designs with planes and flat surfaces.

image

image