Development of signal blocking furniture.

To follow my design process of my signal blocking furniture I decided to turn to CAD to develop my idea further.

In my last post I explained the intended form and how it will function. I wanted my design to feel like a new space, like a room within a room to accomplish this idea I needed to design a enclosed shape for the seating system. I began to play with curves and flowing forms. The design needed to be designed with a ceiling to give it the advantage for blocking signals but also enhances the acoustic values of the interior. The ceiling makes the seating system an enclosed space. Below are some renders of my first CAD model.

I really enjoy the form that has taken in this CAD model. The smart thing about the form being curved is the fact that it allow the users to face each other, but not directly at each other.

The legs are inspired by the legs on the classic Charles and Eames egg shell chair. I’ve intentionally flipped the legs upside down to explore new ways of designing legs. However I feel that they look odd, and out of place. I Intend to flip the back around to form tripod legs during the next stages of  development.

The one thing that I would change is the ceiling and the seat parts of the system. I really feel that they need to follow the same aesthetic of the middle section of the seat. it will be interesting to see what it looks like when its fully made from meshed steel.


A new direction.

I took a step back from my seating project so that I can take a fresh look at the projection of the project.

I decided that the intended form and design of the seating system wasn’t what I wanted. in all honesty because I didn’t like the way it was shaping up I began to lose sight of the project. so I took it back to square one. rethought the appearance.

I spent the rest of last week redesigning my signal blocking seating system. Was a risky move considering I’m so close to my deadline. However I feel like I’ve found a new direction in the project. The new design features a meshed wire exterior that provides a signal repelling property that encourages no phone use and more face to face social interaction. The use of meshed wire adds a certain aesthetical appeal that will intregue the user, but it also visually communicates the signal blocking function of the seating system. The inside of the enclosure includes vinyl sufaces that provide privacy for the users but also makes the interior highly acoustic. The acoustic value allows for a more intimate conversation between the user’s.  The frame of the interior/exterior will feature fixtures to allow seating to be attached to the integral structure. The idea is to make the whole meshed structure out of 5 gage building steel, this material has so many pros, for one it deflects signals both phone and EMI but it also means that the structure will need no frame to support it as its strong enough to support itself and any weight on it.

so I began to design the appearance. Below are my concept development sketches explaining the idea from concept to final design.

The structure can be made from one/two pieces of bent meshed steel sheets. The sheets will be made up of 5 gage steel rods. (architectural grade). this material provides immense integral strength but also looks aesthetically pleasing and industrial (which I love). The shape and form will look like a cocoon enclosure. the original idea was to have steel tubes on the inside which would house brackets for wire chairs to hang off. However I further developed the form from these drawings and what I came up with is far more superior and also a bit clever.

The steel sheets can be manipulated in many directions, which means I can produce complex but beautiful shapes. such as this Eames Sofa.

see how its been designed to be bent in multiple directions, that’s what my intent is with this seating system. I began to develop the idea further to fully visualise the form. in the sketches above you can see that the structure is curved inwards on its sides, top and bottom. to produce a enclosed space. the smart thing about the design is that it curves up at the bottom, this particular curve forms seating without the need to add seats, its all built into the same structure. The sides of the structure provide a backrest and the top curve provides a ceiling. all built in. this means that the structure can be made from one sheet of meshed steel. that saves a lot on the manufacture and assembly costs. the inside of the structure will be lined with thick fabric to provide that acoustic value. the legs will be made separately and attached to the structure during assembly. to fully explain the idea I’ve mocked up some models on CAD.


Development of the aesthetical appearance of the canopy and the structure of the frame.

After building multiple too scale prototypes I thought it was time to move on the aesthetical appearance of the seating system.

below is a visual story of the development process.

The development process began with a full geometric construction of triangles. However after a tutorial I found that the geometric form wouldn’t work with the frame. Which mean that if I wanted to accomplish that structure I would have to compromise the construction of the frame. Which I didn’t want to do, but I felt that the geometric form was aesthetically pleasing so I reconfigured the idea, instead of the whole canopy being geometric, just the sides would be. the form developed from there. as you can see from the above sketches the side panels began to lose material is some places, the idea behind having one of the triangles removed was to allow light to seep into the internal space of the seating system. and that was the form I wanted to have.

From the sketches I thought it was time to move away from sketches and prototypes and onto CAD development. Below are the CAD structures I produced using solid works.

These are the final design renders. CAD is such a good tool for designers to fully understand the visual appearance of their intended design. It allows me to explore different material and context choices without a lengthy and expensive prototyping.

From this I needed to understand how these would fit and look together. Below are rendered images from CAD models that communicate the way they will be placed in a social environment.

Anthropometrical prototyping. Comfort is key.

comfort is the major aspect of all seating furniture and mine is no different.

All through out this project I’ve been working in large scale prototypes. This allows me to explore and understand how we as humans have to sit to be as comfy as possible. To hit the nail on the head, as it were, I took measurements from the internet and cross referenced them with existing seating furnishings from around my university and Cardiff city centre (Bars, cafes, coffee shops and other social spaces such as the shopping centre). this gave me a great understanding of how we like to sit in different environments. the middle ground between them all is were my seating system need to be. To fully realise the size of my seating system I made a new prototype from my primary, secondary and ethnographic research. As well as exploring the size I also constructed it in the form I wanted.

Below is the prototype test rig.

the outcome of the prototype provided everything I needed to continue my design process. Off the back of this test rig I began to work in halve scale models to explore the possibilities of the canopy that will sit above the seating. the canopy provides multiple features, it blocks signal to discourage mobile phone use and to encourage more face to face interactions with other humans. the second feature it provides is that it turns the seating system into an enclosed space that allows the users to have privacy, thirdly it provides acoustic values which eliminates the need to shout over background noise which in turn allows the conversations between the users to be more intimate. fourthly it provides a safe haven from the technological world, a place to read a book or to think.

below is a halve scale model wit the canopy attached.

The advantage of making these prototypes is that it gives me a greater understanding of how to construct such structures and how it can be adapted to be more aesthetically pleasing. The post to follow this one will contain the development process of the shape of the canopy and the structure of the frame.


locking mechanism

this is the design I came up with for the locking mechanism, I just looked at standard locks that manufactures use already because this would make it easier to product in the factory, also its the strongest.

its just a standard barrel lock with a double sided locking feature at the back which would lock in to the frame of the storage system.


Prototype modelling

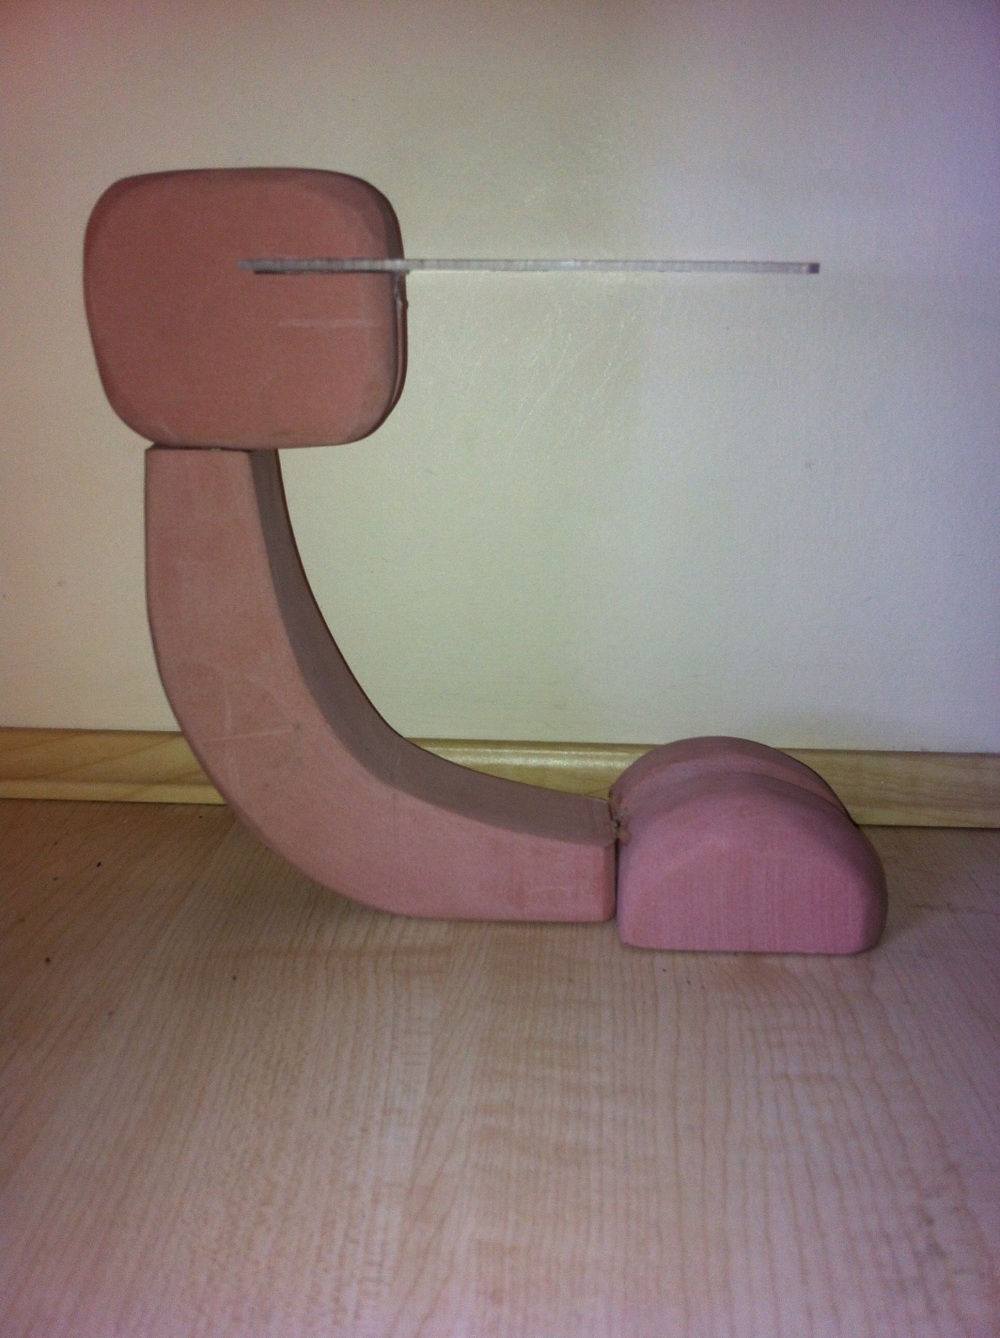
So I spent the day making my model, I’m not that happy with it at the moment and I will improve on it, but by making the models it will give me a better understanding of the shape and function in certain aspects, I made it out of model board and plastic, it’s build up of four separate pieces, I really like the shape of it and I think it would look amazing in aluminium.

20140321-020538 pm.jpg

20140321-020553 pm.jpg

colour

as im designing my product for commuters that work in the city centre I though I should keep clean and modern looking, I looked at dark  colours such as navy blue however I though that wouldn’t suit the profile of my target market very well, so I did some research into what in to what sort of colours they usually wear or the sort of products the buy and the colours of those products, so they buy products like iphones and they are built up of sleek colours such as grey, chrome and black,  also they tend to buy cars that are similar to that description, so I narrowed it down to grey, or black, however I don’t want just a solid dull shade of grey so I tweaked it to the colour of aluminium, which will look smart and will be more fitting to the target audience also It will look very aesthetically pleasing for every one to look at as they pass it.

My pod

I’ve finished making my pod for the group project, I decode to use my personally project as an influence and made my pod a bike Rack and a bedroom for the person to live in! I like the way it looks and I think it will look great in the fish tank.

20140316-082202 pm.jpg