furniture design
Final made product/ making journal
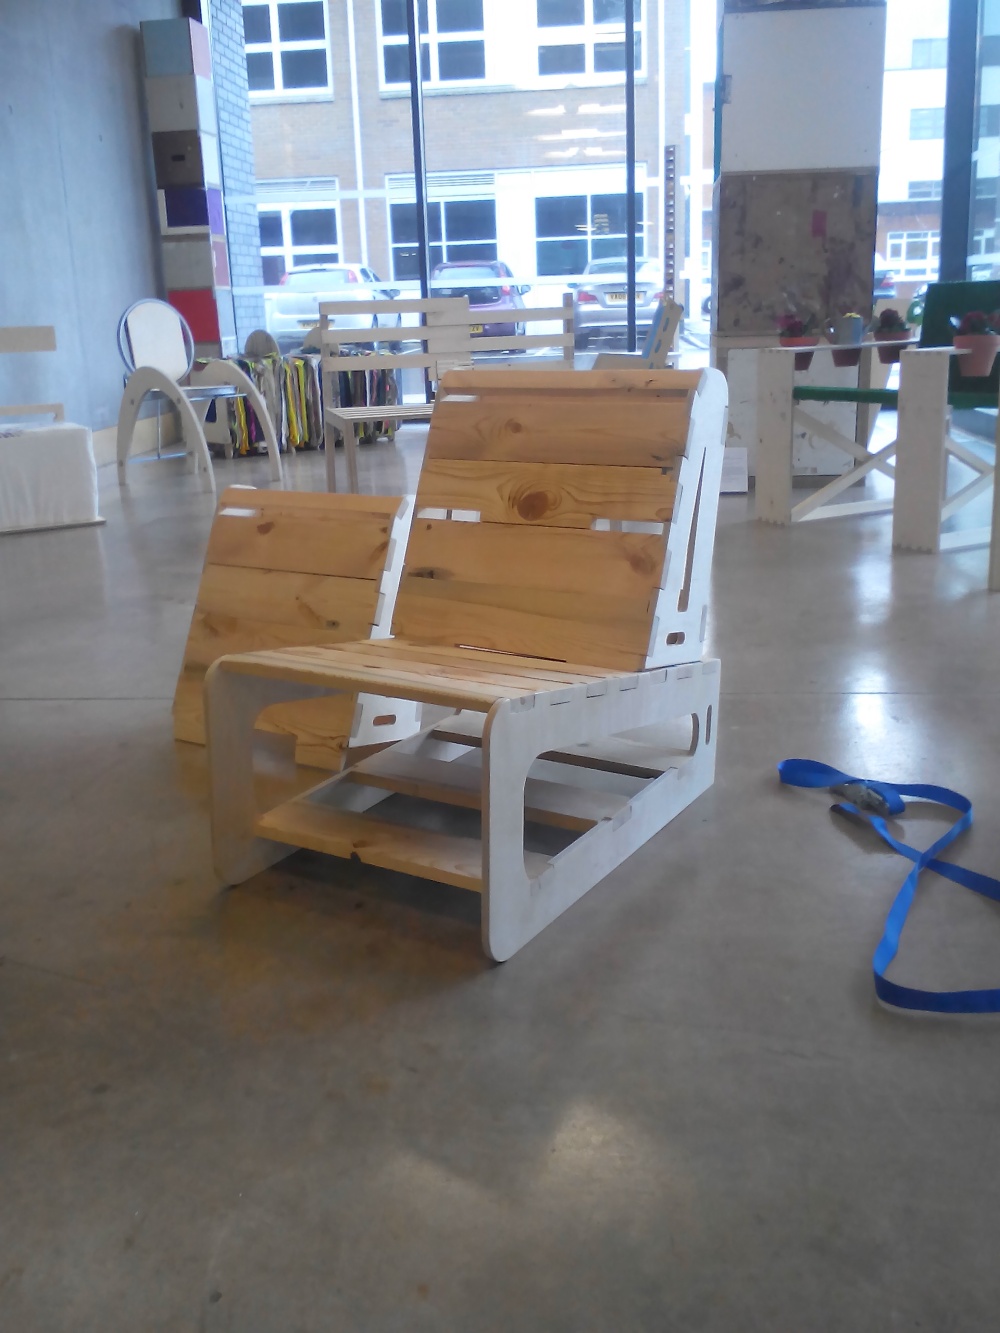
The materials I used to make my chair where birch faced plywood (furniture grade) and reclaimed ‘deal’ timber that I pulled off a skip (I think they where roof rafters). After I finished get the materials I began to make. Firstly I got my plywood cnc’d out to the shape of the side of my design.
When I designed the sides for the chair I made sure they had integrated finger joint slots (2cm x 6cm) and slots for the ratchet straps to thread through, the purpose for the ratchet straps is primary to hold each unit together and to provide structure it also turned out to be a nice feature. Once all six sides where cnc’d out, I just sanded them until they where perfectly smooth.
I then started to clean my reclaimed timber of nails (loads of nails) once I checked the timer to make sure no nails where still in the wood, this is important because if I shove that through the plainer with a nail still in it I will damage the machine and it will chew the timber. After I plainer the timber (which surprisingly turned out to be very nice timber!) I cut the wood to 460mm lengths then cut into 2cm thick planks/slats. On the band saw I cut fingers into the planks to match the slots on the sides.

I then trimmed each one so they fit together in the joints. During this process I made some mistakes including gaps in the joints where I cut away to much material. Once they all fitted perfectly I glued them into the sides and made sure it was all parallel and sash clammed it together. After the glue was set I used a buffer sander to sand all the slats down so they were all flush to one another. When it was all smooth I hand sanded the corners. I decided to leave the wood with out a finish because I preferred that natural aesthetic to the design.
This is the finished product. I have to say I’m very pleased with the outcome and I’ve had loads of positive feed back online from design threads and from people in the university.
I really wanted to capture that natural beach deck chair aesthetic but also serving two functions which allows the user to interact with the design.
Modeling
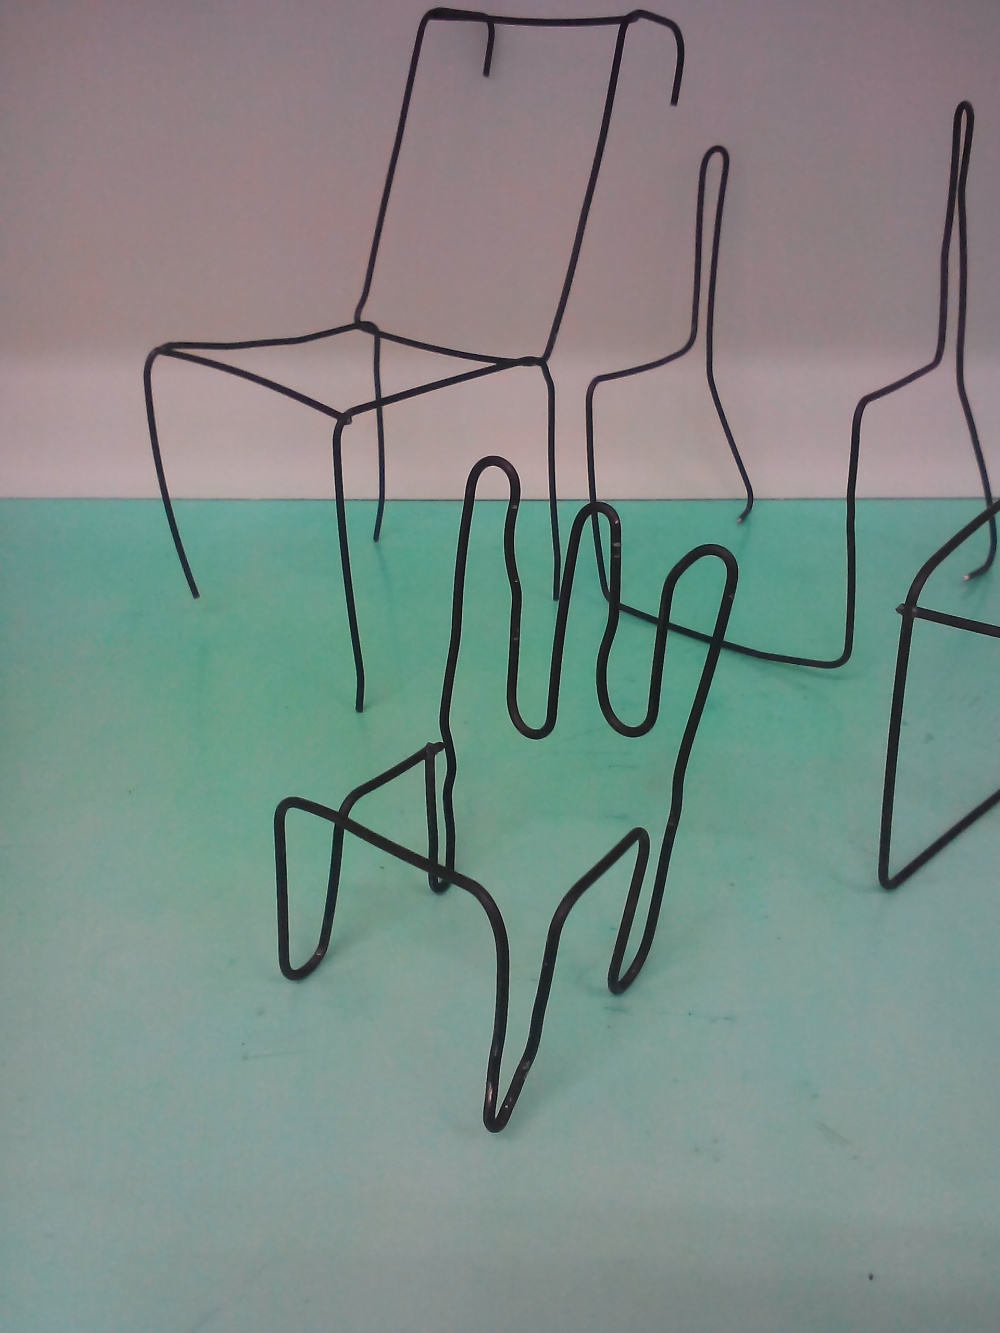
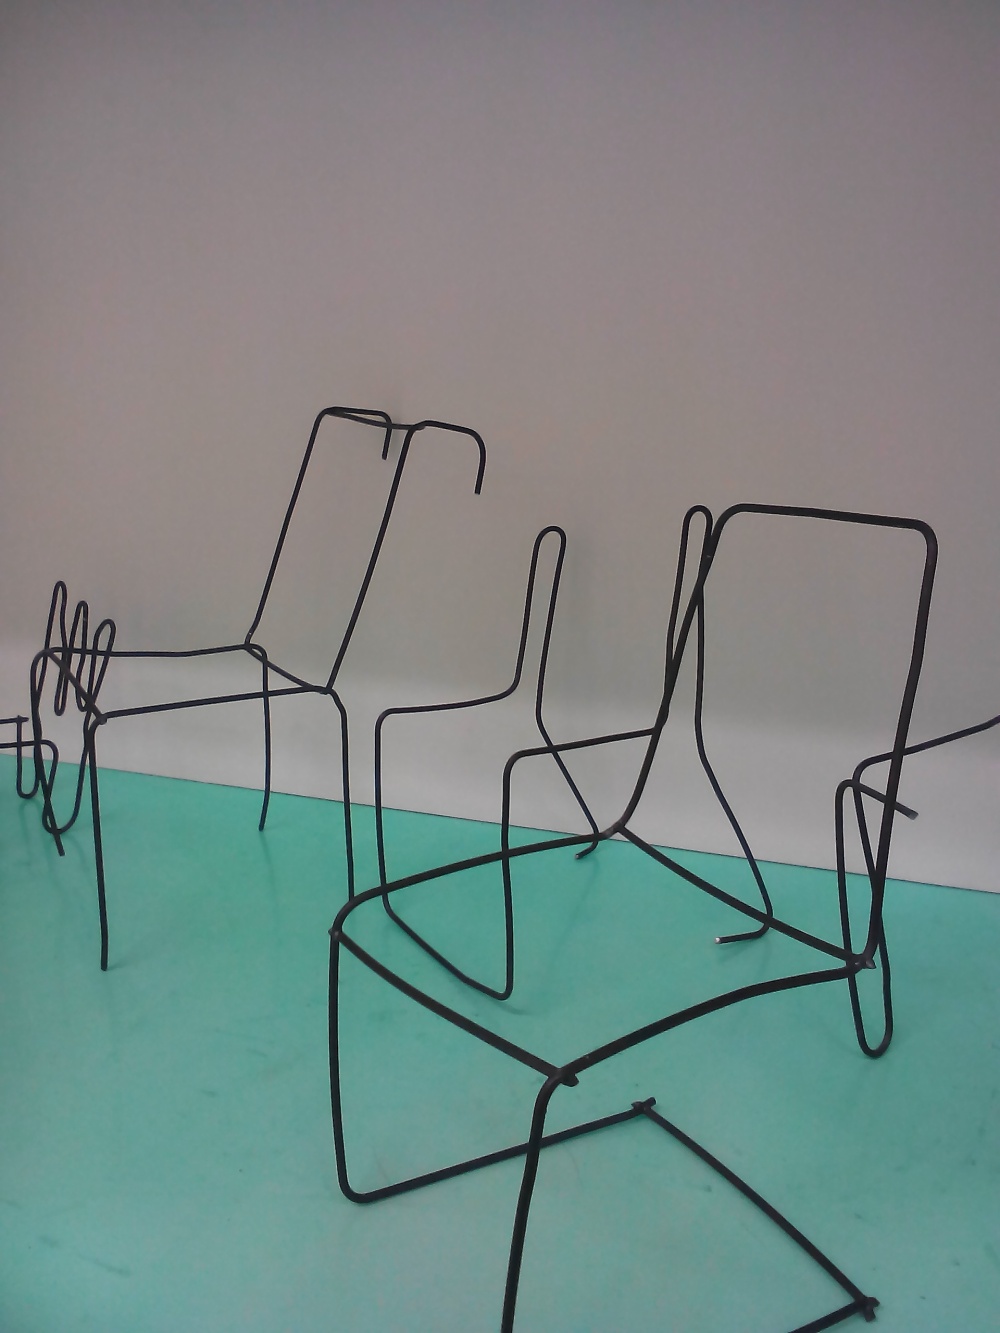
Today i began to draw easy simple designs by just using one line, from these line drawings I began to transform them from single line drawings to plane drawings. From these drawings/ideas I began to make numerous models using a single length of iron rod, and using a spot welder to connect to ends of the wires together.
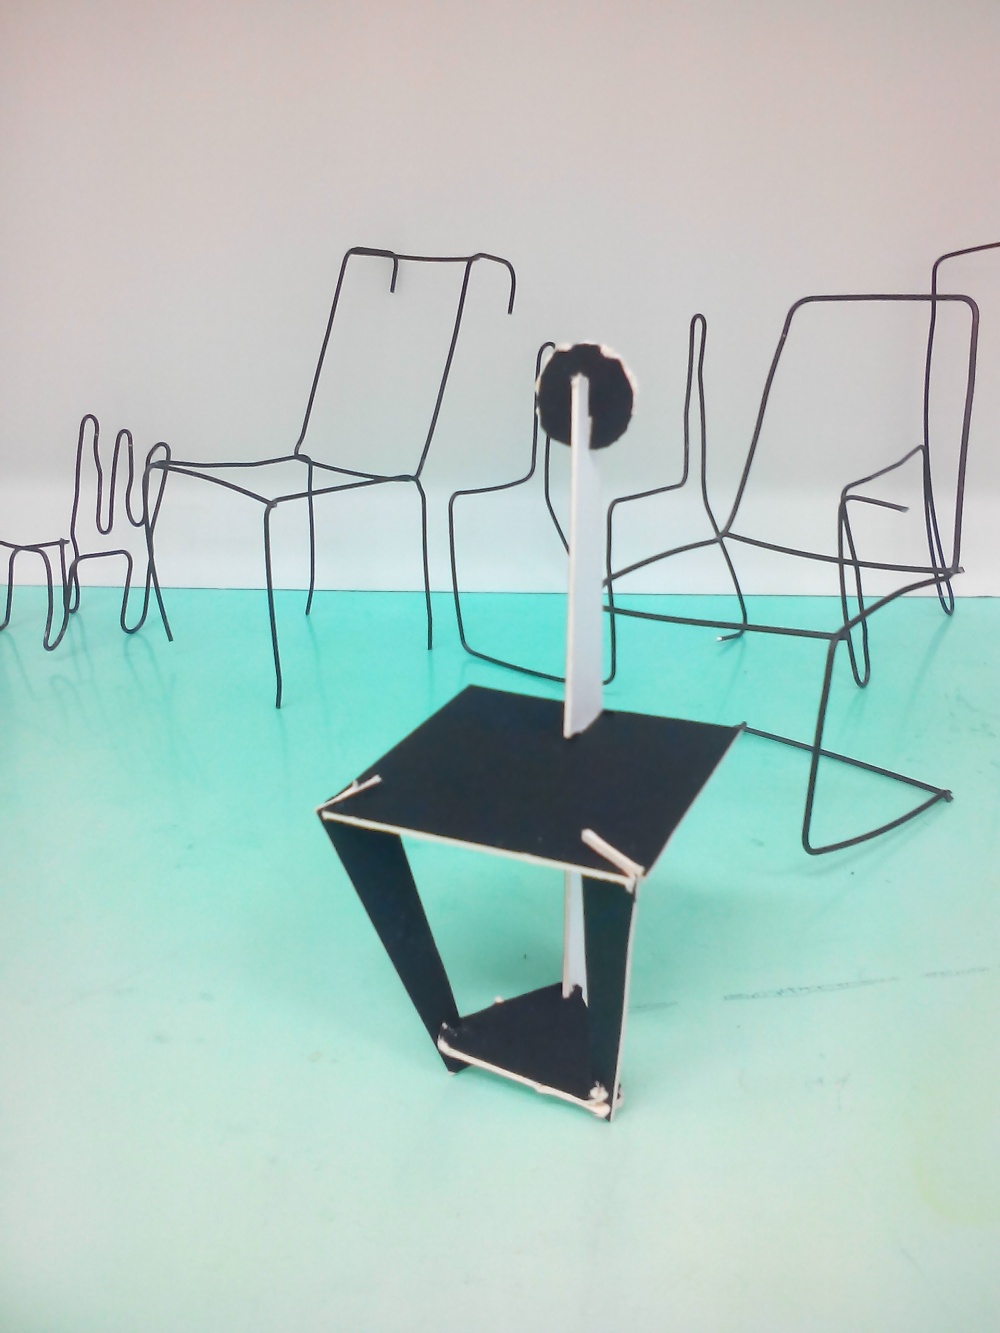
These wire models were quite difficult to make straight and neat so it was quite challenging, but interesting for me because I usually use model board and blue foam to make my models. After I made a few wire models I then started to make models out of thick card, I like using thick card to make models because you have to work out how to fit components together. So this is like turning almost naked designs, into designs with planes and flat surfaces.
‘Are you sitting comfortably?’ Field project
I’ve started a new project called ‘Are you sitting comfortably?’ This project is based around furniture design and to be more specific chair design. I’m so excited for this project because I’ve been waiting for a furniture project to happen for a long time.
I’ve been given a brief to work from. But along side the brief I’ve been given an lecturer in my university to use as my target audience, the chair must be unique to that particular person.
I’ve conducted some primary research in to my consumer, using a simple questionnaire, asking basic and more in depth questions to get a general idea of what type of design will suit them perfectly. Once the chair is made we will be exhibiting it in the art and design school heart space. where they will be kept for a year, for anybody to sit on and enjoy.


